Site and processing of mechanical connection joint of reinforcement

Field processing of connecting joints
(1) Straight thread rebar thread head processing. The processing of straight thread reinforcement thread head shall comply with the following provisions.
① The ends of reinforcement shall be cut flat by band saw, grinding wheel saw or special reinforcement cutter with arc blade.
② The upsetting head shall be free of transverse cracks perpendicular to the reinforcement axis.
③ The length of steel wire head shall meet the product design requirements, and the limit deviation shall be 0 ~ 2.0P (P is the pitch of thread, the same below).
④ The steel wire head shall meet the accuracy requirements of grade 6F, and shall be inspected with a special straight thread gauge. The through gauge shall be able to rotate smoothly and reach the required screw in length, and the screw in of the non-stop gauge shall not exceed 3p. The self inspection quantity of each specification shall not be less than 10%, and the inspection qualification rate shall not be less than 95%.
(2) Processing of taper thread reinforcement thread head. The processing of thread head of taper thread reinforcement shall comply with the following provisions.
① There shall be no local bending at the end of the reinforcement that affects the thread processing.
② The length of steel wire head shall meet the product design requirements. The tightened steel wire heads shall not contact each other. The limit deviation of wire head processing length shall be -0.5p ~ -1.5p.
③ The taper and pitch of steel wire head shall be inspected with special cone thread gauge; The self inspection quantity of each specification of wire head shall not be less than 10%, and the inspection qualification rate shall not be less than 95%.

Field installation of connecting joints
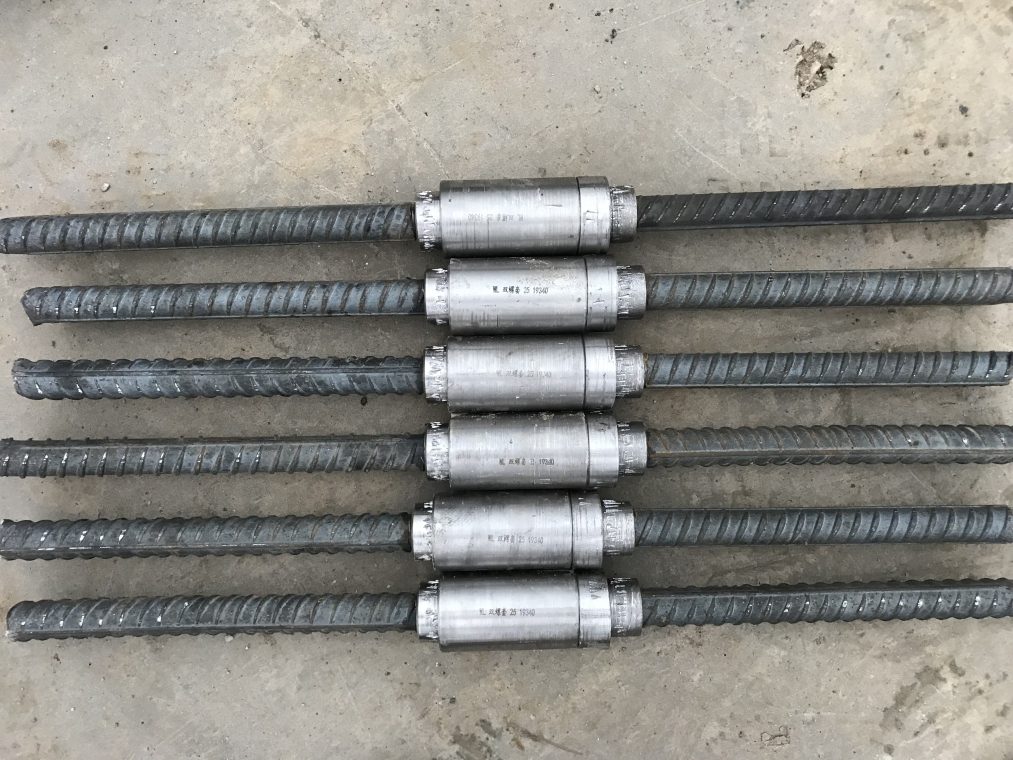
(1) Installation of straight threaded joints. The installation of straight threaded joints shall comply with the following specifications.
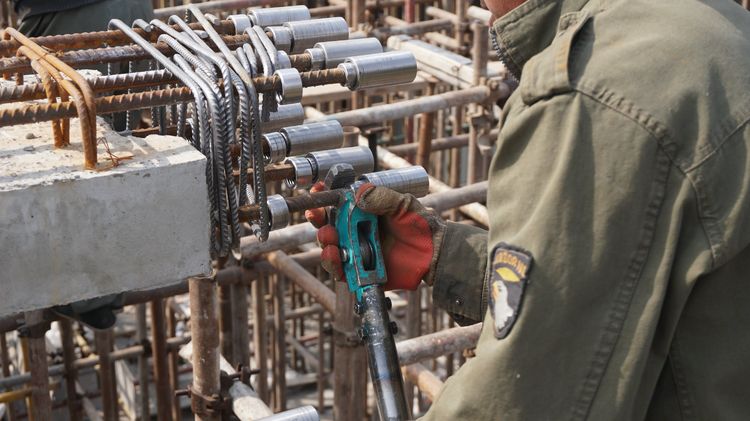
① When installing the joint, the pipe wrench can be used to tighten it. The steel wire heads shall be pressed against each other at the center of the sleeve. The exposed thread on one side of the standard type, positive and negative wire type and reducing type joints after installation shall not exceed 2p; For other straight threaded joints that cannot be butted, locking nuts, jacking bosses and other measures shall be added for fastening.
② After the joint is installed, the tightening torque shall be checked with a torque wrench, and the minimum tightening torque value shall meet the requirements.
③ The accuracy level of torque wrench for verification can be grade 10.
Minimum tightening torque value of straight threaded joint during installation
| Reinforcement diameter/mm | ≤16 | 18~20 | 22~25 | 28~32 | 36~40 |
| Tightening torque/(N·m) | 100 | 200 | 260 | 320 | 360 |
(2) Installation of taper threaded joints. The installation of taper threaded joints shall comply with the following requirements:
① When installing the joint, strictly ensure that the specification of the reinforcement is consistent with that of the connector.
② The joint shall be tightened with a torque wrench during installation, and the tightening torque value shall meet the requirements of table 5-2.
③ The torque wrench for verification and the torque wrench for installation shall be used separately. The torque wrench for verification shall be checked once a year, and the accuracy level shall not be lower than level 5.
Tightening torque value of taper threaded joint during installation
| Reinforcement diameter/mm | ≤16 | 18~20 | 22~25 | 28~32 | 36~40 |
| Tightening torque/(N·m) | 100 | 180 | 240 | 300 | 360 |
(3) Installation of sleeve extrusion joint. The installation of sleeve extrusion joint shall comply with the following provisions.
① The end of the reinforcement shall be free of local bending, serious corrosion and attachments.
② The end of the reinforcement shall be provided with an obvious mark of the insertion depth of the reinforcement after the extrusion sleeve. The distance between the end of the reinforcement and the midpoint of the sleeve length shall not exceed 10mm.
③ Extrusion shall start from the center of the sleeve and squeeze to both ends successively. The fluctuation range of indentation diameter or sleeve length after extrusion shall be inspected with special gauge; The outer diameter of the sleeve at the indentation shall be 0.80 ~ 0.90 times of the outer diameter of the original sleeve, and the length of the sleeve after extrusion shall be 1.10 ~ 1.15 times of the length of the original sleeve.
④ The extruded sleeve shall be free of visible cracks.
 五隆興科技發(fā)展有限公司
![[stiff column] the performance of double screw sleeve instead of welding is incredible! [stiff column] the performance of double screw sleeve instead of welding is incredible!](http://lyzts.cn/en/wp-content/uploads/2021/08/1-150x150.png)


